How to Design an Accessible Bathroom That Works
A bathroom can look freshly remodeled and still be difficult to use. A narrow doorway, a slick shower floor, or a vanity that blocks a walker can turn a daily routine into a source of stress. Knowing how to design an accessible bathroom means planning for safe, comfortable movement first, then choosing finishes and features that make the room feel like home.
For homeowners planning to age in place, recovering from an injury, or accommodating a family member with changing mobility needs, accessibility is not one-size-fits-all. The right design depends on who will use the space now, what may change over time, and how much room the existing layout provides.
Start With the Person, Not the Product
An accessible bathroom is often associated with grab bars, walk-in showers, and raised toilets. Those features can be useful, but they do not solve every challenge by themselves. The better starting point is understanding how the homeowner moves through the room.
Consider whether the bathroom needs to accommodate a wheelchair, walker, cane, or caregiver. Think about reach, balance, vision, hand strength, and whether someone needs a place to sit while bathing or getting dressed. A person who can walk independently but has limited knee mobility may need a different layout than someone who uses a wheelchair full time.
This early conversation helps avoid costly choices that look practical on paper but do not improve daily use. It also gives the remodeling team a clearer basis for recommending a layout, fixture locations, and durable materials.
Create a Layout With Room to Move
Clear floor space is the foundation of accessible bathroom design. It affects how easily someone can enter, turn, transfer, and use each fixture without feeling boxed in. In many older homes around Vacaville, Fairfield, and surrounding communities, the challenge is working within a compact hall bathroom footprint.
Sometimes a bathroom can be improved by rearranging fixtures or borrowing space from an adjacent closet, bedroom, or unused portion of a hallway. In other cases, a larger remodel or room addition may be the more practical long-term answer. The right approach depends on the home’s structure, the available budget, and the level of accessibility required.
A thoughtful plan typically accounts for these areas:
- A wider, easy-to-operate entry door, ideally without a threshold that creates a trip hazard.
- Open floor space near the toilet, vanity, and shower for safe approach and turning.
- Fixture spacing that allows a user and, when needed, a caregiver to move comfortably.
- Door swings that do not block access to the toilet or trap someone inside after a fall.
Exact clearance needs should be confirmed during design. ADA standards are often referenced as useful guidance, but a private residence is not automatically required to follow every commercial ADA requirement. Local building codes, the home’s existing conditions, and the homeowner’s needs all matter.
Choose a Door That Supports Safe Access
A bathroom door is easy to overlook until it becomes an obstacle. Narrow openings can be difficult for a walker or wheelchair, while an inward-swinging door may limit usable floor space. Depending on the layout, widening the opening, changing the swing direction, or using a pocket door can improve access.
Pocket doors save floor space, but they require enough wall cavity and may not be suitable where plumbing, wiring, or structural framing is in the way. A professional site evaluation helps identify what is realistic before finalizing the design.
Make the Shower the Safest Part of the Room
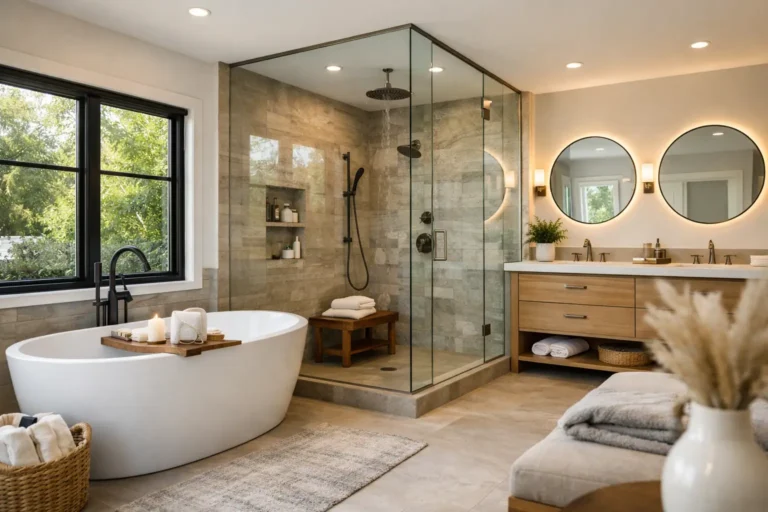
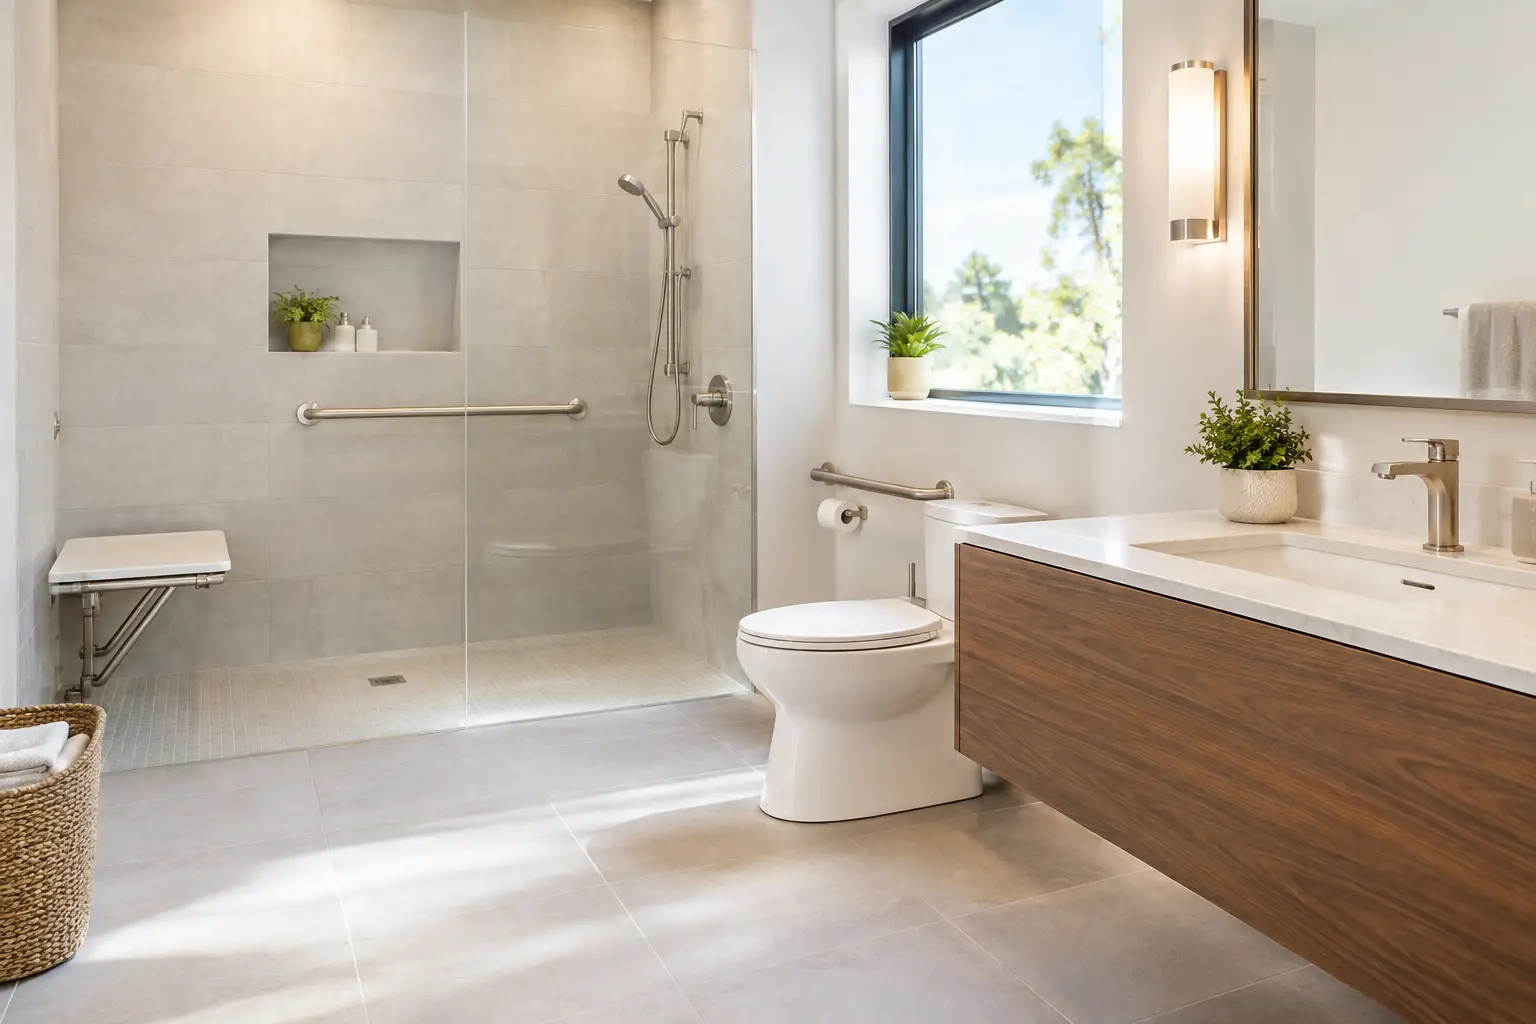
The shower is where many accessibility upgrades have the greatest everyday impact. A curbless or low-threshold shower reduces the need to step over a tub wall or raised pan edge. It can also create a cleaner, more open appearance than a traditional tub enclosure.
A true curbless shower requires careful planning below the finished floor. The framing, drain location, waterproofing system, and slope all need to work together so water drains correctly while the entry remains as level as possible. This is not an area to compromise on craftsmanship. Proper preparation protects both the user and the home.
A larger shower footprint can allow for a built-in or fold-down bench, which is helpful for people who tire easily or prefer to bathe while seated. A handheld showerhead on an adjustable slide bar adds flexibility for seated and standing use. Controls should be positioned where they can be reached without stepping into the spray whenever possible.
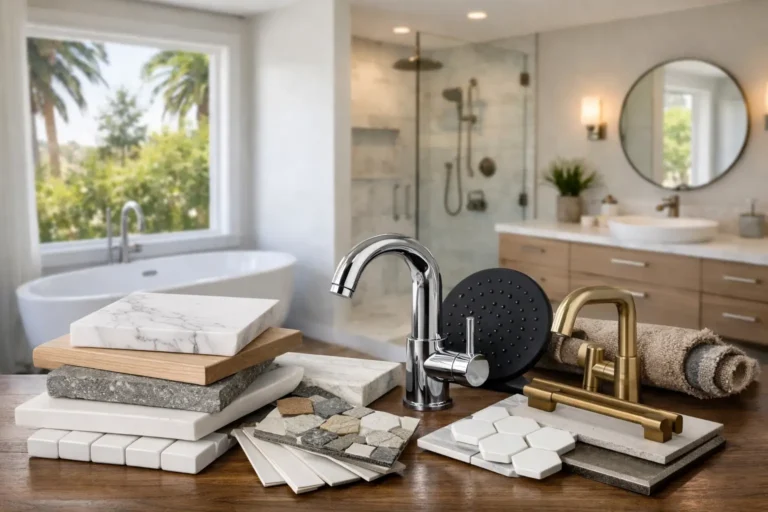
Slip resistance matters as much as the threshold. Small-format tile with more grout joints can provide added traction, while textured porcelain tile is another practical option. Highly polished surfaces may look elegant in a showroom but can be less forgiving when wet.
Plan Grab Bars Before the Walls Are Closed
Grab bars should feel secure, not like an afterthought. They need solid backing behind the wall and should be located where a user can actually reach them during transfers, bathing, and toilet use. Installing blocking during a remodel also gives homeowners flexibility to add or relocate bars later.
Style has improved significantly. Many grab bars now coordinate with common bathroom finishes, so they can blend into a modern design rather than making the room feel institutional. Towel-bar-style products should not be assumed to support body weight unless they are specifically rated and installed as grab bars.
Select Fixtures That Reduce Strain
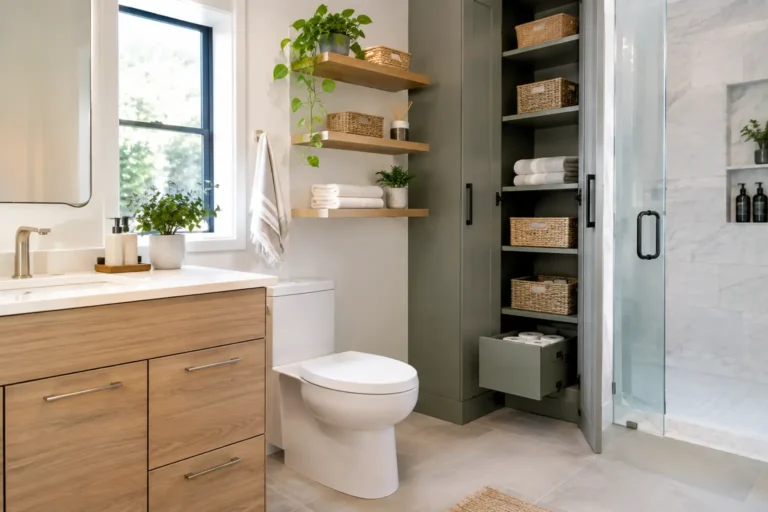
Accessible fixtures should simplify routine tasks without sacrificing comfort or appearance. A comfort-height toilet can make sitting and standing easier for many adults, although the best height varies by user. For someone whose feet need to rest firmly on the floor, a taller toilet is not always the right choice.
A wall-mounted or open-base vanity can provide knee clearance for a seated user. If full wheelchair access is not needed, a standard vanity with accessible faucet controls, easy-to-reach storage, and adequate space in front may be enough. Drawers are often easier to use than deep cabinets because they bring contents forward instead of requiring someone to bend and reach.
Single-handle or touchless faucets can help people with limited grip strength. Lever-style handles for doors and cabinets are another small change with a noticeable benefit. At the sink, a tilted mirror or a mirror extending lower on the wall can serve both seated and standing users.
Use Lighting and Contrast to Improve Confidence
Accessibility is not only about mobility. Good lighting helps users see water on the floor, read labels, and move safely at night. A well-designed bathroom usually combines bright general lighting, focused task lighting at the vanity, and softer night lighting that does not require turning on every fixture.
Color contrast can make the room easier to navigate. For example, a toilet that contrasts with the wall behind it may be easier to locate for someone with low vision. Contrasting edges at a shower threshold, vanity counter, or floor transition can also improve visual awareness without disrupting the overall design.
Avoid overly busy patterns that make it difficult to distinguish changes in level or depth. Matte finishes can reduce glare, especially around mirrors, countertops, and shower walls.
Think Beyond Today’s Immediate Needs
The most successful accessible bathrooms balance present comfort with future flexibility. A homeowner may not need a roll-in shower or full turning radius today, but planning for wider openings, wall blocking, better lighting, and a low-threshold shower can prevent a second remodel later.
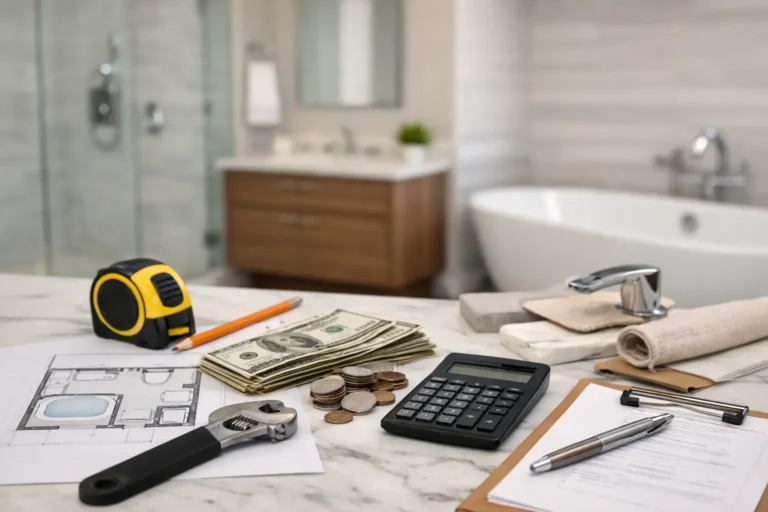
Budget will influence priorities. When a full bathroom renovation is not planned, targeted improvements such as a safer shower, properly installed grab bars, improved lighting, and more accessible hardware can still make a meaningful difference. When a complete remodel is possible, it is worth considering the layout as a whole rather than simply replacing fixtures in the same locations.
Permits and inspections may be needed when a project changes plumbing locations, framing, electrical components, or the bathroom’s layout. A licensed contractor can help homeowners understand the scope, coordinate the work, and keep the project moving with clear communication from design through final walkthrough.
How to Design an Accessible Bathroom With Lasting Value
An accessible bathroom should not feel like a compromise. With the right layout, materials, and fixture choices, it can be safer, easier to maintain, and more comfortable for every member of the household. It can also support long-term livability and make the home more appealing to future buyers who value practical, well-planned spaces.
Before selecting tile or finishes, take time to walk through how the room will be used at the beginning and end of each day. That simple exercise often reveals the design decisions that matter most, and it gives your remodel a stronger purpose than appearance alone.